|
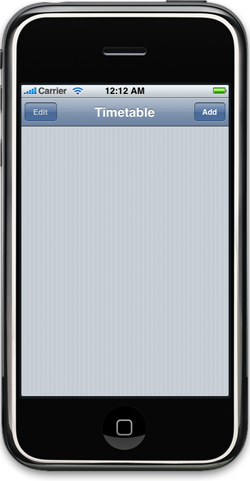
When first run after installation Timetable will display an empty screen ready for you to enter your service details. Press the Add button.
|

|
You can load a timetable data file from the internet or enter a timetable manually from the keyboard.
|

|
If you chose to enter the timetable from the internet you must have a text file sitting on a web server ready to be loaded.
Usually your service company will have an online copy of your timetable you can use. Unfortunatly Timetable can not know about every services timetable format so it can not load your services timetable without a bit of reformatting.
An example data file is http://kaseus.com/jv.txt. Take a look at the data file and load it with your iphone as a sample.
The first line is the timetables description.
The remainder of the file is lines of "-MTWTF- 4:55 5:55 6:55" where "-MTWTF-" means the times are for Monday through Friday excluding Saturday and Sunday. You can enter times in 24 hour format or 12 hour with am/pm directly after the time. The hour and minute must be separated with a ":".
If you do not have a web server available to upload your timetable file you can send your file to support@kaseus.com and we will reply with a url you can download it from.
NOTE: The text file MUST be in unix format (end of line should be just a line feed). The next update should allow DOS formatted files to be loaded.
|

|
Enter the url to your datafile. You do not need the leading "http://" but you can include it. Press Load.
|

|
If your data cannot be loaded you will receive an error message else you will be returned to the main screen with your newly loaded timetable displayed.
|
|
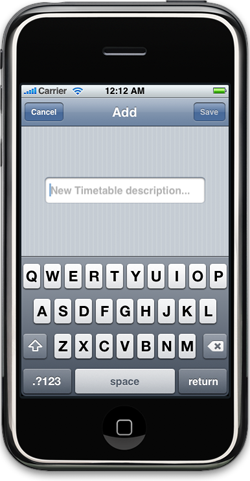
If you chose to enter the timetable from the keyboard you will be prompted to enter a description for your service.
|
|
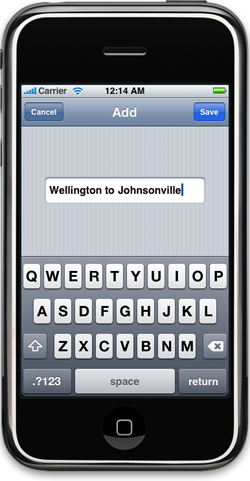
Enter a description of the service and press the Save button.
|
|
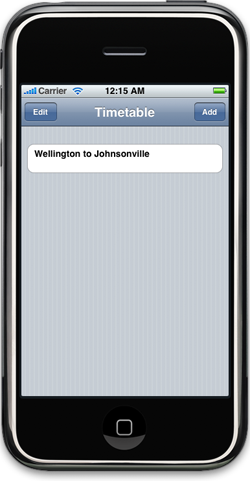
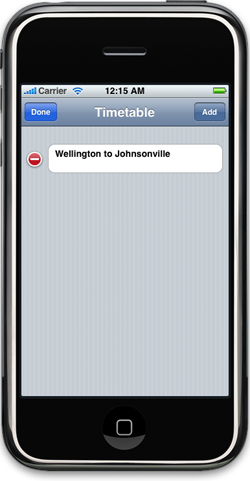
You are now back at the home screen with your new service name displayed. You have not entered any times for this service so you will not yet see the next service time.
|
|
If you have made a mistake in entering the service description you can press the Edit button and delete the service or tap on the service name and edit the description. Press the Done button when you have completed your changes.
|
|
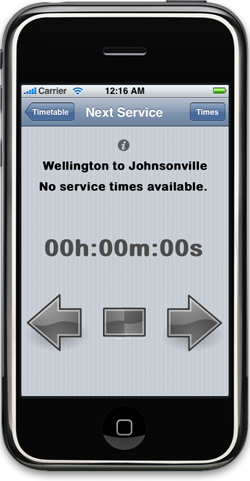
Tap the service name and you will go to the Next Service screen. This screen will allow you to scroll through the service timetable. As there are no times entered it will display "No service times availiable". Press the Times button to go to the service times screen.
|
|
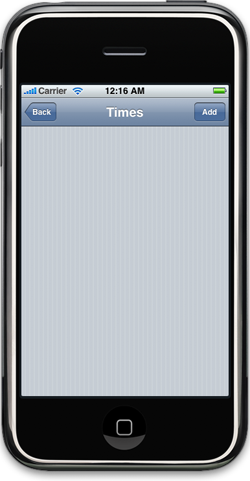
This screen will usually display a scrollable list of all the services times. Once again since you are working with a new service there are no times displayed. Press the Add button.
|
|
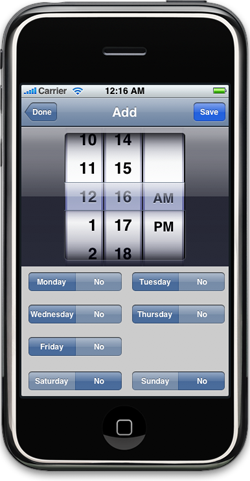
Start entering the timetable of your service. Select the time, select the days applicable and then press the Save button. Repeat until you have all your times entered.
|
|
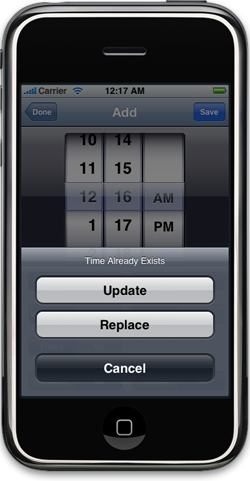
If you enter a time for an existing time you will be prompted to Update, Replace or Cancel. Update will combine the days of the currently saved entry with this new entry, for example if the currently saved entry is for 12:16am Monday, Tuesday and Friday and the new entry is for 12:16am Saturday and Sunday then when you Update it the saved entry will be for 12:16am Monday, Tuesday, Friday, Saturday and Sunday. With my local timetables they usually have different times for the weekend so i've found it easiest to enter the weekday times which are usually the same times every day then deselect Monday-Friday and select Saturday and Sunday and enter the weekend times. For those weekend times the same as weekday times just click on Update and it will combine the weekdays with the weekend days. Replace will overwrite the currently saved entry, so in our example the newly saved entry will be for 12:16am Saturday and Sunday. Cancel will do nothing and return you to the time you were attempting to save. When finished press the Done button.
|

|
You will now see a scrollable list of all the times you just entered with the days in brackets. To edit the time entry tap on the time.
|

|
Change the time and/or days and press the Save button. If you attempt to save it with the same time as an existing entry you will receive a warning message. Press the Done button when you have finished your edit.
|

|
To delete a time entry swipe across the time entry and press the Delete button.
|

|
Press the Back button to return to the Next Service screen. You should now see a countdown to the next service departure time. You can use the arrow buttons to scroll forward and backward and press the middle square to return to the next immediate service. Press the Timetable button to return to the home screen.
|

|
You will now see the service with the time before the next service departure. The time before departure will be updated on the minute.
|


